Petersfield Go 2
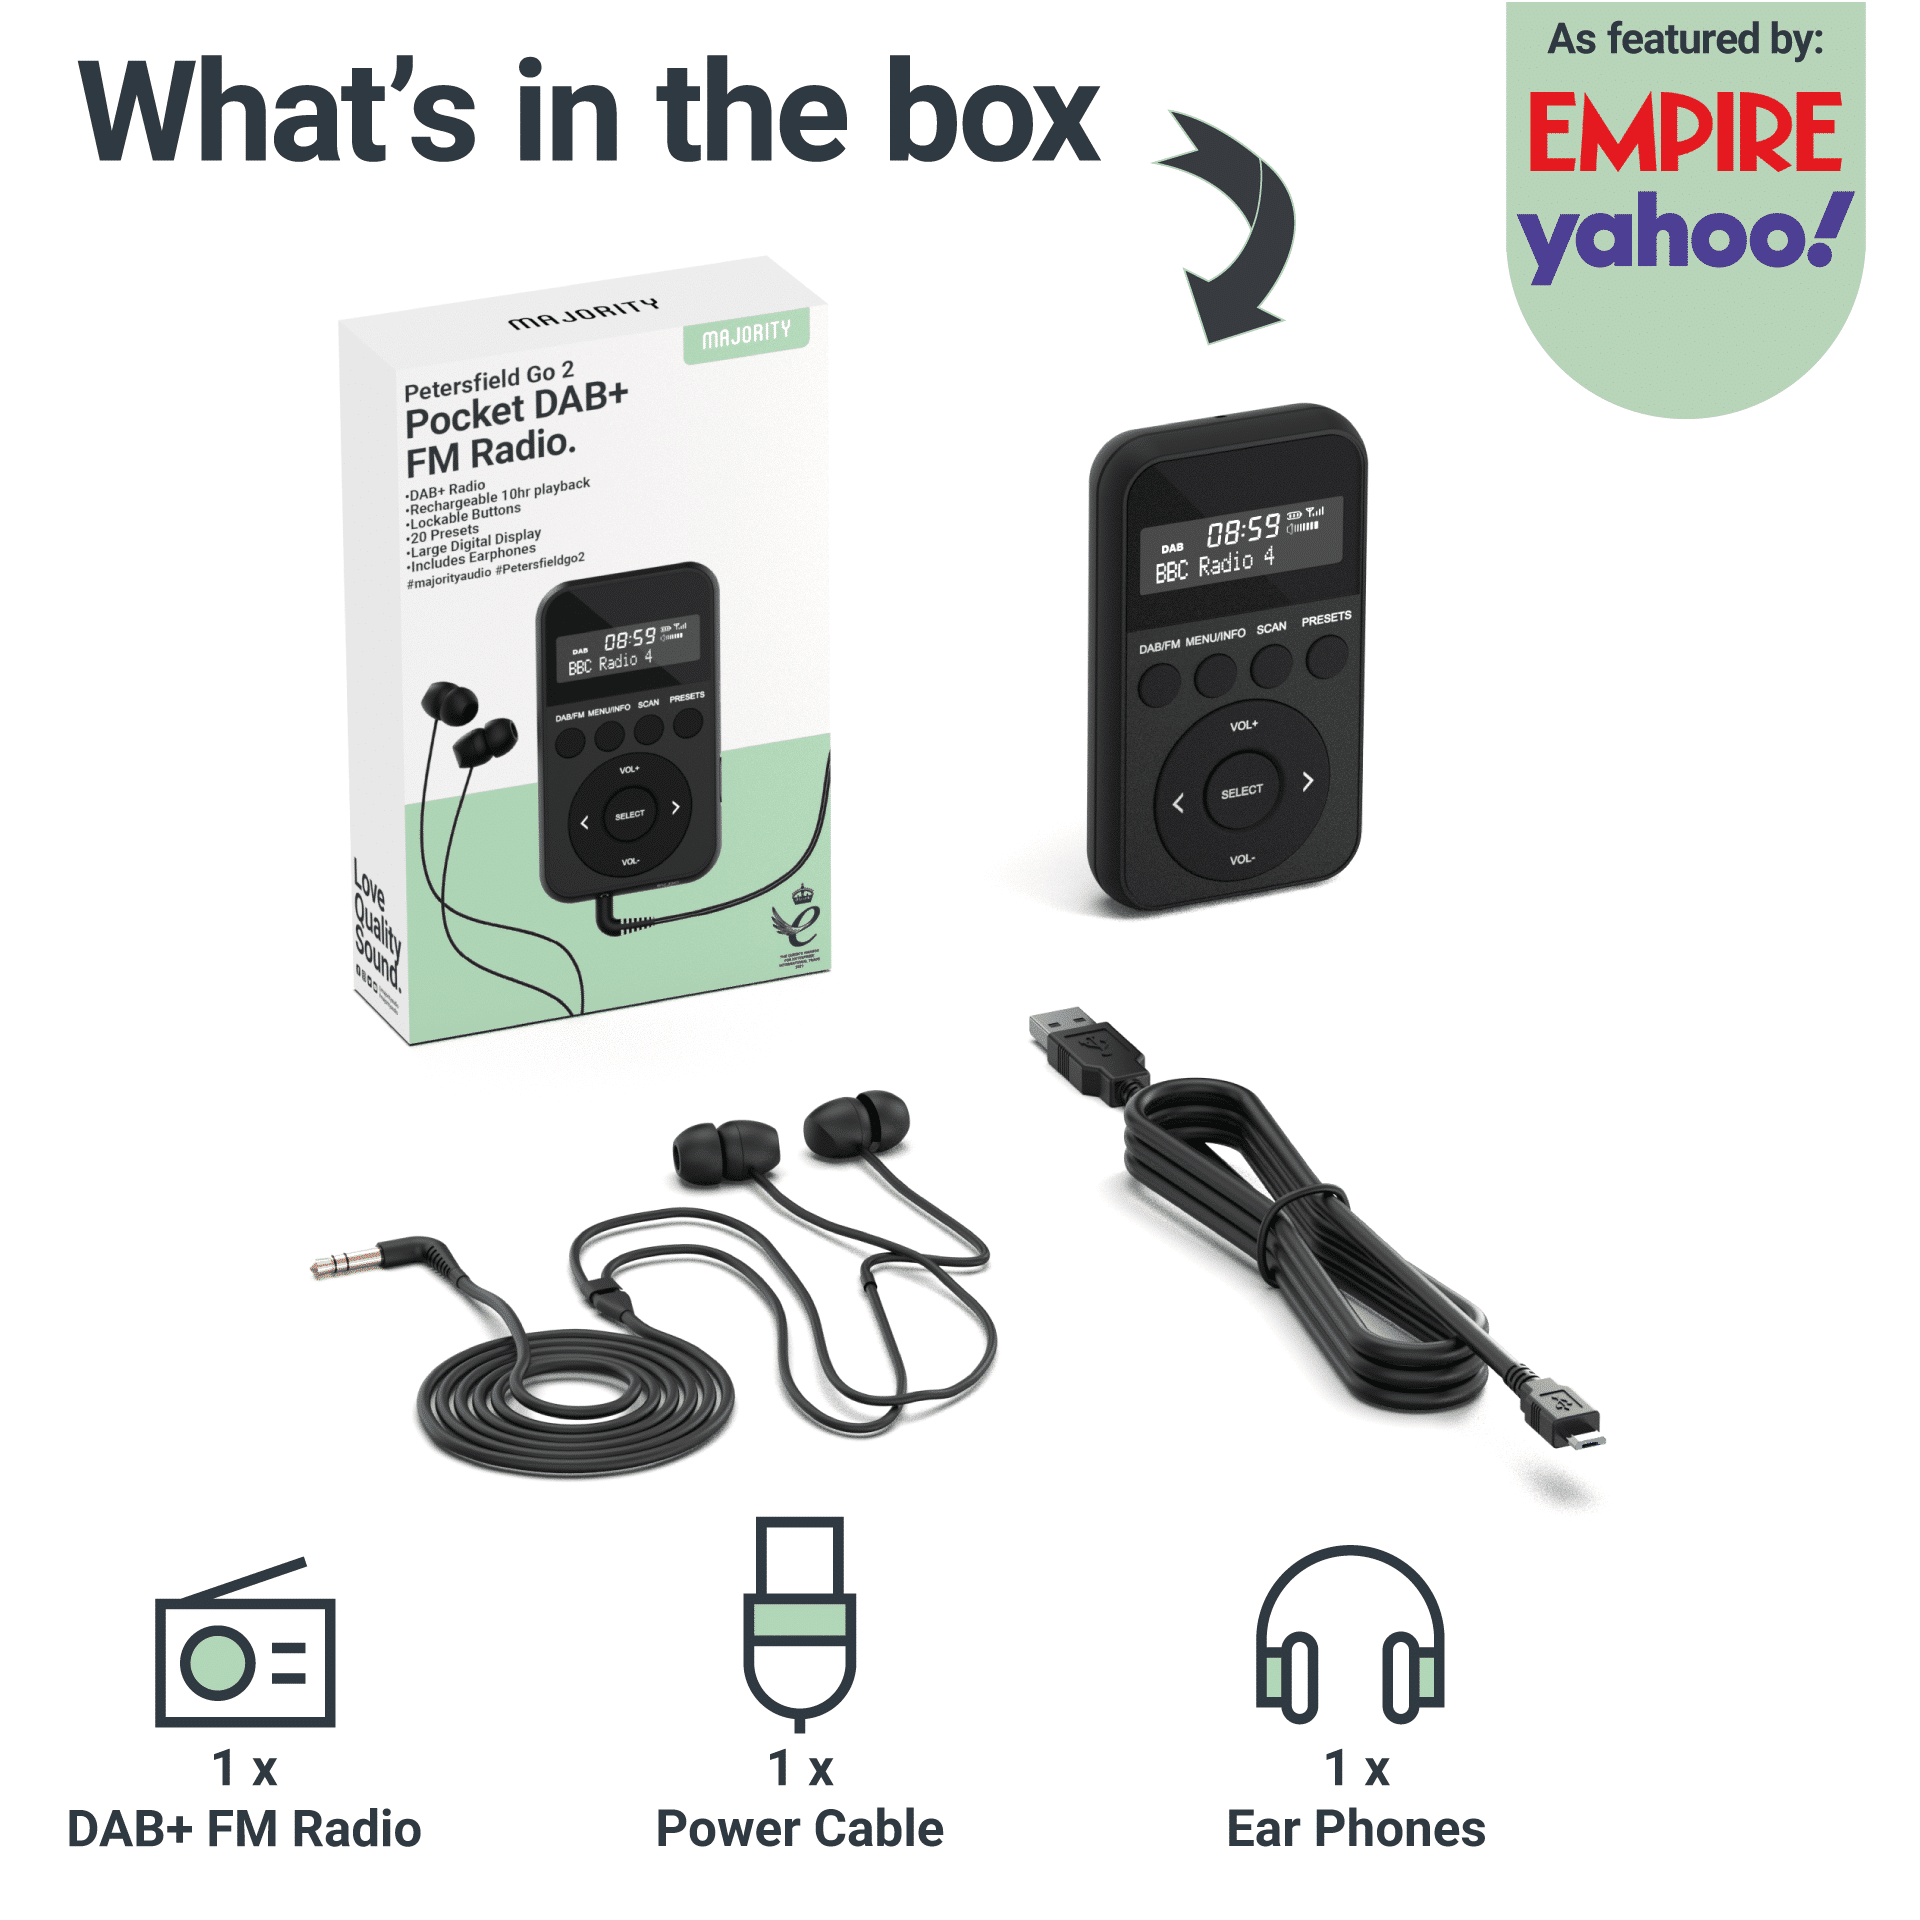
Box Contents
A. Majority Petersfield Go 2 Radio
B. USB-A to Micro-USB-Cable
C. Earphones
Controls and Functions
Front View

- Display
- Scan Button
- Preset Button
- Volume + Button
- Next/Tune Button
- Volume – Button
- Select Button
- Previous/Tune – Button
- DAB/FM Button
- Menu/Info Button
Side Views

11. Power/Lock Button
12. Reset Button
Top Views

- 3.5 mm headphone socket
- Micro-USB socket
Instructions Guide
Charging the Petersfield Go 2
Connect the Micro-USB cable to the Micro-USB port.
- Connect the other end of the Micro-USB cable to a power outlet, using a USB power adapter. You can also charge the battery by connecting DAB to a computer’s USB port.
Switching On
Before you switch on the first time, charge the battery for at least 8 hours.
- Connect the headphones into the headphone socket. The headphones are also the aerial.
- Slide the Power/Lock switch towards the power logo and then release the switch. The PETERSFIELD GO 2 will then switch on and start tuning to digital radio stations. After the autotune is complete, you can start listening to digital radio.
Switching OFF
- To Turn off the Petersfield Go 2 press and hold the power switch towards the power logo for 2-3 second, After 2-3 Second the Petersfield go 2 will power off.
- Once the display turns off you can let go of the power switch, Which will return to it’s normal position.
Locking the Petersfield Go 2
You can lock the buttons, so you don’t accidentally press a button.
- To lock the buttons, slide the Power/Lock switch into the position.
- To unlock the buttons, slide the Power/Lock switch into the middle position.
Switching to DAB/FM Mode
- When powered on for the first time, it will start up DAB Mode.
- If the PETERSFIELD GO 2 is in DAB Mode, press the MODE button repeatedly until FM is shown on the display.
- Once in FM Mode, PETERSFIELD GO 2 will tune to the start of the available FM range (87.50MHz) or the last FM station (See Fig.1).
- To manually change the FM frequency, make sure that you have not selected any other sub-menus. Turn the TUNE+/TUNE– to change the frequency by 0.05MHz
Changing the DAB Display Information
- If the PETERSFIELD GO 2 is in DAB Mode, press MENU/INFO button to select different info to show on the display, such as DLS (Dynamic Label Segment), Signal Strength, PTY (Programme Type), Ensemble, Frequency, Signal Quality, BitRate Codec, Time or Date.
- If the PETERSFIELD GO 2 is in FM mode, press MENU/INFO button to select different information to show on the display, such as Radio Text, PTY (Programme Type), PS (Programme Service), Stereo/Mono, Time, or Date.
DAB Mode – Choosing Menu Options
- If the PETERSFIELD GO 2 is in DAB Mode, press and hold MENU/INFO to enter the menu list shown on. Press NEXT/PREVIOUS to select option through the menu list. Select your preferred option and push the SELECT button to confirm. The menu options are: Full Scan, Manual Tune, DRC, Prune and System.
- Full Scan – In the menu list, press the Next/ Previous button to select “Full scan”. Push SELECT to confirm, and the full scan starts automatically. Once a scan is completed the radio returns to play the previously selected station or first station on the station list. Note: If no radio station found, it shows “No DAB Station”. For a better reception, extend the antenna or do the full scan again in another place.
- Manual Tune – As well as the normal method of scanning, you can also manually tune to a particular channel/frequency. This can be useful for adjusting your antenna to achieve the best possible reception and scanning a particular channel to update the station list. Under the menu list, press the Next/ Previous button to select “Manual tune”. Push SELECT to confirm and then press NEXT/PREVIOUS to select a particular channel/frequency. Push SELECT to confirm the setting. The display shows a live indication of the received signal strength on the selected frequency. Adjustments to your antenna will be manifested in the received signal strength displayed.
- DRC (Dynamic Range Compression) – This function reduces the difference between the loudest and quietest audio being broadcast. Effectively, this makes quiet sounds comparatively louder and loud sounds comparatively quieter. In the menu list, press the NEXT/PREVIOUS to select “DRC”. Push ENTER to confirm. Press NEXT/PREVIOUS to select and Push SELECT button to confirm the setting (Options: Off (default)/High/Low.Note: DRC only works if it is enabled by the broadcaster for a specific station.
- Prune – This removes all invalid stations indicated in the station list with a ‘?’ in front of the station name. In the menu list, press NEXT/PREVIOUS to select “Prune”. Push SELECT to confirm. Press NEXT/PREVIOUS to select <Yes>, and push SELECT to confirm.
- Time – if there is any DAB+ radio signal, the machine will automatically update the time, there is no signal, can also be set manually. *Set Time/Date: Set Hour / Set Minute / Set Month / Set Date> Set Year >Saved Auto Update Options: Update from any / Update from DAB / Update from FM / No Update Set 12/24 hour: 12hour/24 hours Set date format: DD-MM-YYYY/MM-DD-YYYY Cycle through Time Menu by pressing SELECT, choose your option, and push SELECT changes.
- Backlight –This radio display has a backlight which can be adjustable. You can select the time out of the display backlight of your radio. Under the System Menu, press NEXT/PREVIOUS to select “Backlight” through the menu list. Push SELECT to confirm. Select NEXT/PREVIOUS, then press the Next/ Previous button to select < 10sec / 20sec / 30sec / 45sec / 60sec / 90sec / 120sec / 180sec / On >. Push SELECT to confirm.
- Language –The language used for display messages can be English, Francaise, Deutsch, Norsk or Nederlands. Under the System Menu, press NEXT/PREVIOUS to select “Language”. Push SELECT to confirm. Cycle through Language Menu by pressing the Next/Previous button to select a particular language. Push SELECT to confirm.
- Factory Reset – This function clears all user defined settings, replacing them with the original default values– Time/Date, Preferences/Settings, DAB station list and Preset Stations are all lost. Under the System Menu, press NEXT/PREVIOUS to select “Factory Reset”. Push SELECT to confirm. Use the Next/ Previous button to choose <Yes> and push SELECT button to start the factory
- Software version – This is used to display the current software version. Under the System Menu, press NEXT/PREVIOUS to select “Software version” . Push SELECT to confirm— the existing SW version will be showed.
FM Mode – Choosing Menu Options
- If the DAB Digital Radio is in FM Mode, press and hold MENU/ INFO button to enter the menu list. Press NEXT/PREVIOUS to select option in the menu. Push SELECT to confirm option. The menu options are: Scan Setting, Audio Setting, and System.
- Scan Setting – by default, FM scans stop at any available station. This may result in poor quality audio from weak stations. Under menu list, press NEXT/PREVIOUS to select a particular option (Options: Strong stations only / All stations) in “Scan Setting”. Push SELECT to confirm the change to new setting.
- Audio Setting – By default, all stereo stations are reproduced in stereo. For weak stations, this may result in poor quality audio. The audio quality can be improved using mono. In the Menu List, press NEXT/PREVIOUS to select a particular option (Options: Stereo allowed | Forced mono) in “Audio Setting”. Push SELECT to confirm the change to new setting. It will automatically change to new setting after 3 seconds.
PRESET Button
Preset 10 DAB stations and 10 FM stations.
Store a station to the preset list – to store a station, selected your desired radio station, then press and hold PRESET for 1-2seconds until the LCD display “Preset store #:(Empty)” , or“#: saved radio station”. Press NEXT/PREVIOUS to select your desired station preset number. Press the SELECT button to confirm your selection and the display will show “Preset # Stored”.
Recall a Radio Station from the Preset List
To recall a preset station, “PRESET” button once and rotate NEXT/PREVIOUS to select presets station that you have stored. When the display shows your desired preset number, push SELECT to confirm.
Note: If you choose a preset that hasn’t been allocated a station, then “Empty” will be displayed.
Next/ Previous Button
Choosing Radio Stations or Options
- If the DAB Digital Radio is in DAB Mode, press NEXT/SELECT to cycle through the radio station list when you are listening. Or press NEXT/PREVIOUS to cycle through the menu list for options.
- If the DAB Digital Radio is in FM mode, press NEXT/PREVIOUS to manual adjust the frequency by 0.05MHz. Alternatively, press and hold TUNE+/TUNE- button to auto-scan station. Or press NEXT/PREVIOUS to cycle through the Menu List for options.
VOLUME +/- Button
Adjusting Volume- Turn the Volume dial to increase or decrease the volume.
Performing a Battery Reset
If the controls stop responding, perform a battery reset. To perform a battery reset, use a paper clip to press the reset button on the side.
Warranty
Register your Majority product within 30 days of purchase to activate your extended 3 Year Warranty. Gain access to all the benefits and lifetime technical support (see our Extended Warranty details for more info).
Specifications
| Model No. | PEGO-DAB-BLK |
| Dimensions | 7.5 x 5.4 x 1.2 cm |
| Power | DC 5V 𝌂 0.5A |
| Weight | 0.06 kg |
| Presets | 20 |
| Headphone Jack | 3.5 mm |
| DAB | 174 – 240 MHz |
| FM | 87.5 – 108 MHz |
| Screen | Mono LCD |
| Dimmable | Yes |
| Battery | 1000mA Lithium |
Safety Info
IMPORTANT
Please read all instructions carefully before use.
WARNING
Risk of electric shock. Do not open.
- Read these instructions:
- Heed all warnings.
- Follow all instructions in the user manual.
- Do no clean the apparatus near or with water.
- Do not block any ventilation openings. Install in accordance with the manufacturer’s instructions.
- Do not install near any heat sources such as radiators, heat registers, stoves, or other apparatus (including amplifiers) that produce heat.
- Protect the power from being walked on or pinched particularly at plugs, convenience receptacles, and the point where they exit from the apparatus.
- Only use attachments/accessories specified by the manufacturer.
- Unplug this apparatus during light storms or when unused for long periods of time.
- Refer all servicing to qualified service personnel. Servicing is required when the apparatus has been damaged in a way, such as power-supply cord or plug is damaged, liquid has been spilled or objects have fallen into the apparatus, the apparatus has been exposed to the rain or moisture, does not operate normally or has been dropped.
- No naked flame sources, such as lit candles, should be placed on the apparatus.
- Dispose of used electrical products and batteries safely according to your local authority and regulations.
Addition Warnings
The apparatus shall not be exposed to dripping or splashing and no objects filled with liquid, such as vases, shall be places on the apparatus.
Main plug is used to disconnect device and it should remain readily operable during intended use. In order to disconnect the apparatus from the main power completely, the power plug should be disconnected from the main socket outlet completely.
Battery shall not be exposed to excessive heat such as sunshine, fire or the like.
Recycling Electrical Products
You should now recycle your waste electrical goods and in doing so help the environment. This symbol means an electrical product should not be disposed of with normal household waste. Please ensure it is taken to a suitable facility for disposal when finished with.
Troubleshooting
If you are having issues with your product or require further assistance, please visit our Frequently Asked Questions (FAQs) page below.
Download/print as a PDF
Want to save the above instructions as a PDF? Simply click the print icon below to save or print the user manual.
Contact Support
Having an issue with your product or can’t figure something out? Get in touch with our support team.